2>.Input Current:3A
3>.Work Current:2.5A(Max)
4>.Work Type:Self-excited boost
5>.Work Frequency:20KHz
6>.Arc Duration:10second(Max)
7>.Arc Length:2~4mm
8>.Work Temperature:-40℃~85℃
9>.Work Humidity:0%~95%RH
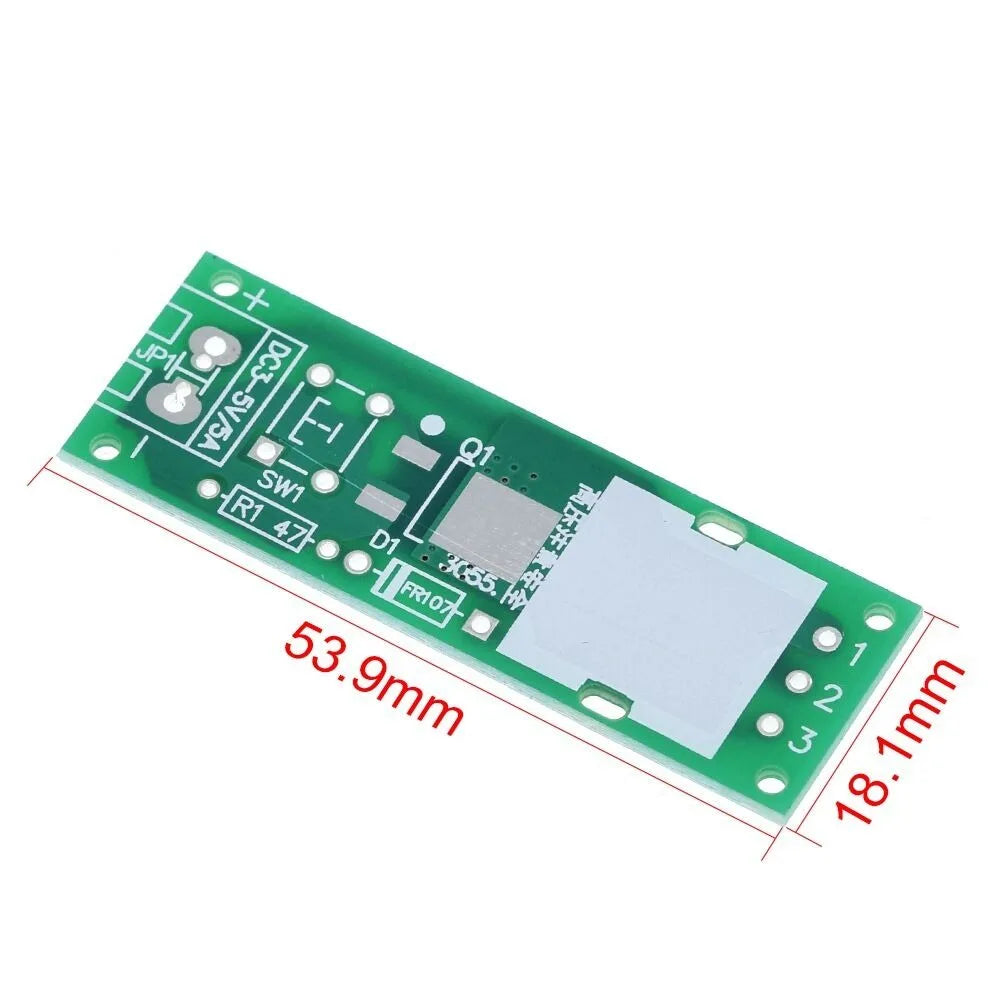
10>.Size(Installed):71*18*14mm
Installation Tips:
1>.User needs to prepare the welding tool at first.
2>.Please be patient until the installation is complete.
3>.The package is DIY kit.It need finish install by user.
4>.The soldering iron can't touch the components for a long time(1.0 second), otherwise it will damage the components.
5>.Pay attention to the positive and negative of the components.
6>.Strictly prohibit short circuit.
7>.Users can complete installation by PCB silk screen and component listing.
8>.Install complex components preferentially.
9>.Make sure all components are in right direction and right place.
10>.It is strongly recommended to read the installation manual before starting installation.
Installation Steps(Please be patient install!!!):
Step 1: Install 1pcs DO-41 1N4007 Diode at D1.Pay attention to the positive and negative and the gray mark is negative pole.
Step 2: Install 1pcs TO-252 MJD3055 Transistor at Q1.
Step 3: Install 1pcs 33ohm 1W Carbon Film Resistor at R1.
Step 4: Differentiate four wires of High Frequency Transistor into three groups. Solder attached to the end of each wire.
Step 5: Winding excess wires of High Frequency Transistor.
Step 6: Install High Frequency Transistor at T1.
Step 7: Fix High Frequency Transistor by Tie.
Step 8: Install 1pcs 6*6*5mm Black Button at SW1.
Step 9: Install 1pcs 470uF/16V Electrolytic Capacitor at C1.Pay attention to the positive and negative and the longer pin is positive pole.
Step 10: Install 1pcs KF-301-2P Black Terminal at JK1.
Step 11: Connect right work voltage to test and Application.